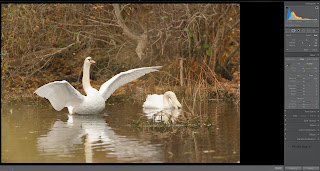
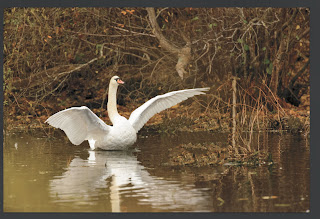
In my last blog, I had the picture of the mute Swan with its wings spread and the other Swan with its head out of the water. I had a different picture of the mute Swan with its wings spread, but the other Swan had its head under the water. My thought was that I would like to post process this picture and only keep the Swan with its wings spread in it.

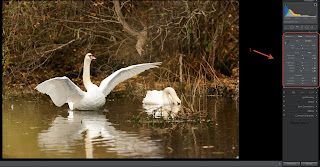
Here is the original picture, I first try to remove the second Swan using the spot removal tool in Lightroom, but it would not work. So I did my initial processing of the picture in Lightroom.

 Exporting the picture, utilizing control-E, into Photoshop, I added a new layer, utilizing the layer button at the bottom of the layers panel. I then utilize the clone stamp, taking pieces from different parts of the picture and then help blend it utilizing the lasso tool and contents aware.
Once I had it to my liking, I did my first crop.
I have been utilizing Topaz clarity plug-in for many of my pictures. I like it because it doesn't give halos and that the presets are easily customized utilizing the sliders and/or the mask. I duplicated the layer and then opened Topaz clarity. In Clarity: 1 - Picked the Collection to use; 2 - Picked the Pre-set to use; 3 - Adjusted the preset to my taste.
After I was finished, I flatten the picture in Photoshop and then exported the picture as a PSD back into Lightroom, where I've made a few more adjustments and fixed the crop.
 |
| Final Result |


No comments:
Post a Comment