Showing posts with label Lightroom. Show all posts

Saturday, March 19, 2016

Help in Postprocessing

This morning I read a fascinating article, written by Jason P Odell, on expanding dynamic range on a single raw file in Adobe Lightroom.  The article comes with a video in which station shows you how to do it.  I tried this out on fireworks taken on the Esplanade the Fourth of July in Boston and liked the results.
Before and After

Now I have taken online courses would Jason and been with him in a workshop in Florida and am going to join him in the black hills of South Dakota in September.  Here is the URL for the article http://www.luminescentphoto.com/blog/2016/03/18/expanding-dynamic-range-on-single-raw-files-in-adobe-lightroom/

Using the coupon code mborn you will receive a 15% discount on any or all of the Topaz plug-ins.


Help Support my blog by purchasing from Amazon. Clicking on this link and utilizing the link does not cost you anything.

Topaz denoise 6 is available for $30 off through March 20.  This new version is excellent for noise reduction.  You need to use the coupon code "NOISEFREE"
http://www.topazlabs.com/aff/idevaffiliate.php?id=850&url=http://www.topazlabs.com/denoise


Saturday, November 21, 2015

Continuing My Old Catalog File Cleanup

Gila Woodpecker - original NEF file
Gila Woodpecker - original TIF file
Gila Woodpecker - PSD file with Topaz plug-ins
I have been continuing reviewing older pictures in my catalog and found a great deal of them have not been adequately keyworded, especially to what species they are.  I have also started to reprocess a number of pictures, utilizing what I have learned over the years.  I am going to presents some pictures from 2012 with various processing.  This will range from the original right out of the camera to how I processed some now in 2015, utilizing Lightroom, Photoshop, and Topaz plug-in.
Great-tailed Grackle  - original NEF file
Great-tailed Grackle  - processed 2012, TIF file with halo around the bird
Great-tailed Grackle  - process 2015, PSD file with Topaz plug-ins


Monday, November 9, 2015

Do Not Forget to Review Older Pictures in Your Catalog

A question for my readers.  How many of you go back and review all the pictures in your catalog? The reason I ask is that last year I wrote a blog about processing some older pictures as I was going through my catalog and keywording pictures.  http://photobee1.blogspot.com/2014/03/more-photographs-from-past.html

Since the last few days I have not been feeling up to snuff, I decided to go back and look at all the pictures from 2010.  I found a number of pictures that I had processed, but on new inspection.  I really did not like the way they looked.  Since I do have the original raw file I decided to reprocess a number of the pictures, utilizing all the new techniques that I have learned plus the improvements that have occurred in Lightroom and ACR.

I also found pictures that I forgot I had or that should have been published previously.  It has been enjoyable doing this and here are some of the new results.

Great blue heron diving for food
Marbled Godwit with Mole Crab in Its Beak
River Otter
Black-Tailed Deer
Crested Guan
Savannah National Wildlife Refuge
Wild Turkeys Running in the Snow in My Backyard
Dot-tailed Whiteface Dragonflies Mating
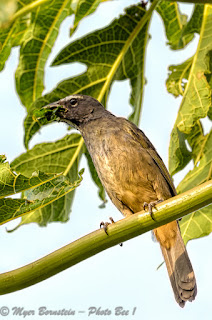
Grayish Saltator
Wood Stork Landing at Nest


Sunday, November 1, 2015

Experimenting

Went out to Gooseberry to see what we could find.  All three of the scoters were present out in the day, however, they were too far away to photograph.  There were a number of different sparrows around plus out at the tip of Gooseberry Savannah sparrows.  Just prior to our reaching the tip a large flight of shorebirds flew by, which disappointed me because usually at the tip is a great place to photograph shorebirds.  The reason was a gentleman was walking his three dogs, which cause the shorebirds to evacuate.

There was an interesting stand of driftwood out at the tip which I photographed.  When I looked at the driftwood on the computer screen, it was a very bland picture.  So I decided to have some fun experimenting.  First, I adjusted the picture in Lightroom and exported the adjusted picture to Photoshop.  While in Photoshop.  I cleaned up the background, replace the background with a texture, added a little bit of impressionistic painting and then did some selective adjustments of the color.  Here is before and after.
Driftwood after Lightroom Processing
Driftwood after Photoshop and Topaz Processing
Yellow-rumped warblers were present.  One of the warblers posed out in the open, allowing clear shots of it, but, the background was very busy.  So again back in the computer.  I adjusted the picture in Lightroom and in Photoshop and then replaced the background with a green background photograph that I had taken.  Again, here is the before and after.  Which one do you like better?
Yellow-rumped Warbler
Yellow-rumped Warbler with Background Replaced
One yellow-rumped warbler kept flying off of branches turning around and catching small insects that were in the air.  I was happy to get a single image of the warbler performing.  I would love to have the warbler looking toward the camera, but I was happy to get a single clear picture.
Yellow-rumped Warbler Catching Flies Showing Its Yellow Rump
Not to start a controversy, I believe that a photographer is also an artist, and can adjust photographs to please himself/herself.  That is what I used to do in the darkroom, the same as AnselAdams and other old great photographers.  He yes, now we do it on the computer using a digital darkroom.  Now, if the photograph is supposed to be documentary or for the news, then no great manipulations should be performed.  Please reply on the blog what your thoughts are in this matter.

Wednesday, May 13, 2015

How to Combine Photos Using Light Room and Photoshop

I had photographed a Drake Mallard by some dandelions and it had its mouth open, however, I cut its feet off.  Thank God, the next picture, I did not cut the feed off, however, the mallards mouth was closed.  I decided to utilize Photoshop to see if I could combine the pictures and I was able to get the head with its mouth open on the body that had the feet showing.

Here are my steps:
First, I selected both images.  Then processed one of the image and then sync the settings with the other image Step two -   In the Photo Menu >Edit In > Open  as Layers in Photoshop.


Step three  -  now in Photoshop highlight both of the images, in the Edit Menu >  Auto-Align Layers.  Choose Auto then click OK.


Step four  -  you now have your image aligned with the head with the open mouth on the body that has the feet.  Finally crop the image and save it back into Lightroom.

I hope this brief tutorial gave you some ideas, and let me know if you tried it and it worked.


Using the coupon code mborn you will receive a 15% discount on any or all of the Topaz plug-ins.


Help Support my blog by purchasing from Amazon. Clicking on this link and utilizing the link does not cost you anything.
BUY FROM AMAZON

Tuesday, February 17, 2015

Noise Removal

Mourning Dove final
With all the snow we have been having, most of my photography has been photographing the birds that are coming to my deck feeder.  I have had little son and most the time it is been dark due to the snow and clouds.  I've had to use higher ISO and probably could've gone higher than I have.  The main problem with using higher ISO is noise.  If you use either Lightroom of Photoshop for your post-processing, Lightroom develop module and Adobe ACR are the same and give you the option how to remove noise.  I am going to show you today a different way to remove noise utilizing a method that I learned from Artie Morris and Denise Ippolito.  The methodology for me requires both Lightroom and Photoshop.

My settings were 1/400 sec-f/5.6-ISO 2000, D810, 70-200 +2x converter at 260 mm

After importing my photos into Lightroom and doing the initial post-processing but not sharpening or doing noise reduction.
Mourning Dove original 

Next, I export the image into Photoshop, where I do any cleanup on the image that is necessary, and then I convert the image into a smart object.


I ran my 2 favorite plug-in filters, Topaz Clarity and Topaz Detail, after running Detail.  It does leave more noise in the photo.  Previously I removed the noise by using the masking portion of detail or using Topaz Denoise to remove noise.

My steps now is using the quick celestial action tool I select out the object that I do not want to change the noise in, refined the edge, invert the selection and paste the selection in a new layer.  Then I utilize the surface blur filter to get rid of the noise.  Once you get the hang of it.  It really doesn't take much additional time and does an excellent job.
Noise after running clarity and detail

selection made with quick selection tool

utilizing surface blur to remove noise
Steps

I hope this tutorial is been useful for you and if you have any questions don't hesitate to contact me.'s2x converter at 260 mm

Wednesday, January 21, 2015

Batch processing in Lightroom and Photoshop


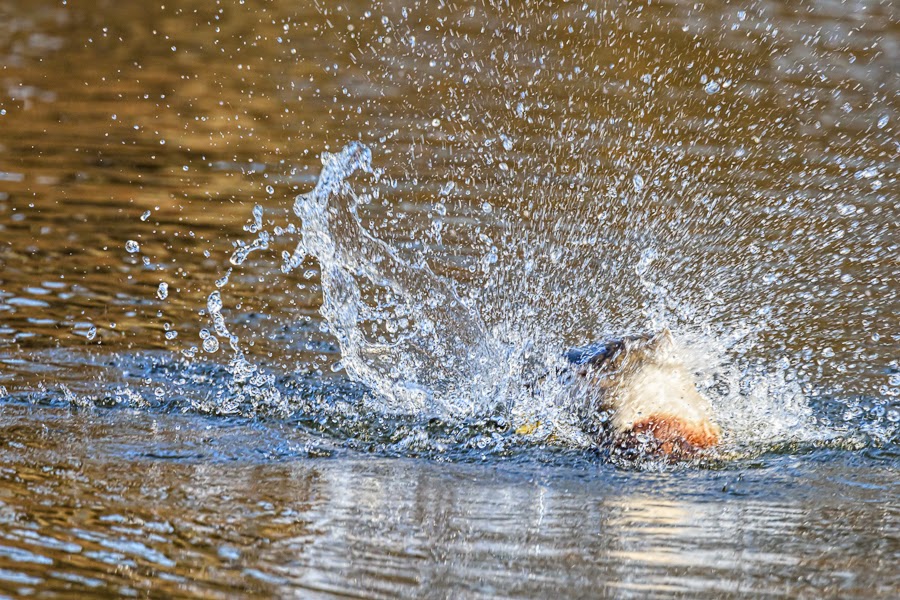
The other day, I went back to Jenney Pond again, and at one point, a Drake Mallard was creating quite a commotion by splashing in the water.  I took three series of photos with a total of 24 photographs.  In Lightroom adjusting the pictures was simple, I use the develop module (which is ACR in Photoshop), adjusted one of the photos and then selected all the rest and and use the synchronize tab.  To make my life easier.  I utilized Photoshop 1st to create an action with one of the pictures and then imported the rest of the pictures into Photoshop.  Then under file I chose automate > batch.  The batch dialogue opens, make sure that the correct set of actions is selected, the correct action, the source is open files, choose the destination and click OK.  Photoshop will process the files and save them.  While Photoshop is working go get a cup of coffee.  By doing these steps each of the pictures will be processed the same.  I hope this information helps you.